
What Does a Full-Service Design Process Actually Look Like?
The Art of Architectural Design: Turning Creative Ideas Into Real Spaces
Architectural design is the disciplined process of conceiving, organizing, and refining the physical form and spatial logic of a built environment, translating human needs into structured, habitable volumes. This practice integrates functional planning, material selection, and structural reasoning to create coherent compositions that balance utility with sensory experience. Its core value lies in its capacity to shape daily life by optimizing circulation, natural light, and spatial hierarchy, thereby enhancing comfort, efficiency, and psychological well-being. Applied thoughtfully, architectural design transforms abstract programmatic requirements into tangible, enduring places that mediate between occupants and their context.
What Does a Full-Service Design Process Actually Look Like?
A full-service architectural process begins with listening—walking your land, absorbing how light falls across rooms, and mapping your daily rhythms onto paper. The first phase, schematic design, translates those conversations into loose floor plans and massing sketches, testing how the kitchen flows into the garden or where a stairwell can breathe. Then comes design development: we select real materials—brick, oak, steel—and refine details like window depth or ceiling height until the structure feels inevitable. Construction documents follow, turning every decision into precise drawings and specs, but the true test arrives during bidding and build. We sit with contractors, answer field questions, and adjust details on-site when a foundation hits rock or a supplier delays.
The process isn’t linear; it’s a loop of proposing, testing, and refining—where your daily life becomes the measure of every line drawn.
The final walkthrough isn’t a signature—it’s watching you open a door that finally swings exactly as you imagined.
From First Sketch to Final Blueprint: The Step-by-Step Workflow
The workflow kicks off with loose, messy sketches—just you, a pencil, and raw ideas trying to find their shape. From there, I refine the chosen concept into scaled drawings, mapping out room sizes, window placements, and traffic flow. Next comes the fun part: iterating with 3D modeling software to test light and materials, then circling back to adjust the plan. Once the design feels right, I draft precise construction documents, adding structural notes and dimensions. Finally, the blueprint gets a thorough review for code clashes and buildability before it’s stamped and sent out. It’s a loop of sketching, testing, and detailing until everything clicks.
The path from first sketch to final blueprint is a repeatable loop of exploration, digital refinement, and precision detailing—ensuring every idea survives contact with reality.
Who Does What: The Roles of the Lead Architect, Draftsperson, and 3D Modeler
The lead architect defines the design intent, resolving spatial relationships, structural logic, and materiality while making final decisions on aesthetics and constructability. The draftsperson translates those decisions into precise technical drawings—plans, sections, and elevations—ensuring dimensions and annotations align with building codes and coordination notes. The 3D modeler builds a digital twin from that documentation, testing massing, light penetration, and clash detection while generating renderings for client review. Role clarity in architectural design prevents rework: the architect owns the “why,” the draftsperson owns the “how,” and the modeler owns the “what-if.”
Q: Who approves changes to a model or drawing? Only the lead architect approves scope-altering changes; the draftsperson and modeler execute revisions but never initiate them independently.
How Long Does a Typical Residential or Commercial Project Take to Design?
A typical residential project’s design phase runs **six to twelve weeks**, while a commercial project often spans four to eight months. The gap hinges on scope: a single-family home with minor revisions may finish schematic design in two weeks, but a multi-story office building demands extended zoning analysis, structural coordination, and iterative client approvals. Weekly design reviews compress the timeline, whereas delayed decisions on materials or floor plans add weeks. Design duration is directly proportional to project complexity and client response speed—not square footage alone. A design schedule with fixed milestones keeps both phases on track, but change orders after permit submission can silently extend the process by a month or more.

Residential design typically takes 1.5–3 months; commercial design ranges from 4–8 months, with complexity and client feedback cycles as the primary drivers.
How Do You Choose Between Modern, Minimalist, and Traditional Styles?
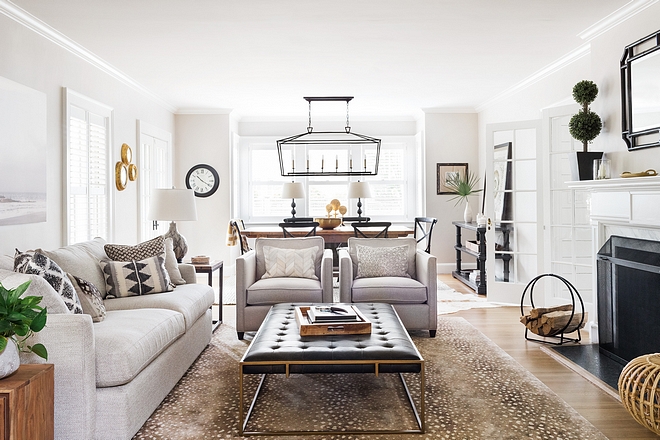
The choice begins with the rhythm of your daily life, not a magazine spread. If your mornings crave calm and your evenings demand order, a minimalist plan—clean planes, hidden storage, and a strict material palette—reduces visual noise so your habits take center stage. But if your home hosts generations, a traditional layout with defined rooms, pitched roofs, and familiar moldings offers a warm, predictable flow that supports shared rituals. Modern design, meanwhile, suits those who want light to become architecture itself—open spans, industrial glass, and bold cantilevers that respond to a dramatic site. Ask yourself: *“Do I want a house that whispers quiet efficiency, speaks of heritage, or shouts a forward-looking identity?”* The site’s slope, your climate’s extremes, and how many people cook together daily should override any trend—a steep hillside won’t forgive a sprawling ranch, just as a cramped urban lot fights a colonnaded mansion. Test each style by sketching your worst Tuesday morning—who bumps into whom, where the coffee goes, how the mud dries—and the aesthetic decision resolves itself.
Matching the Aesthetic to Your Site, Climate, and Daily Lifestyle
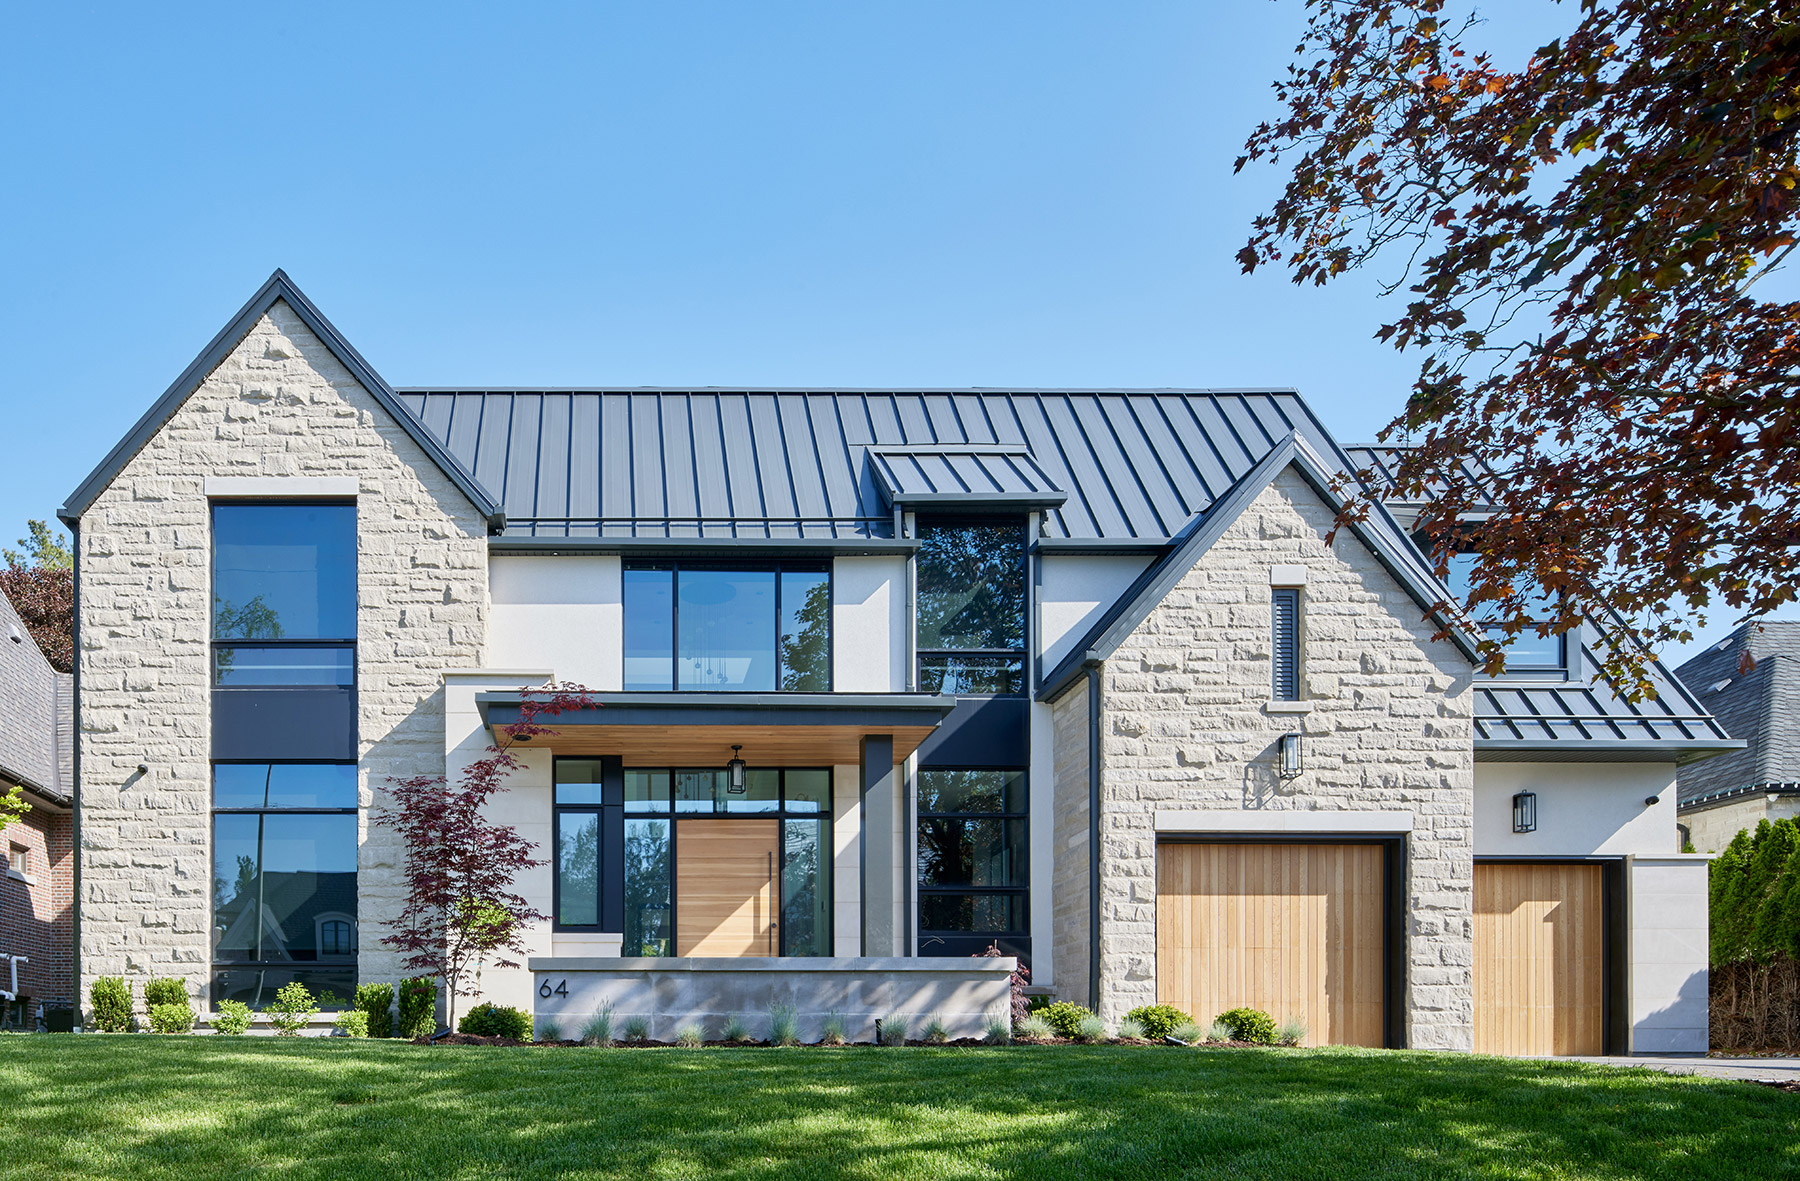
The decisive factor in style selection is not preference alone, but how each aesthetic performs within your specific physical context. A minimalist palette suits arid, high-sun climates where thermal mass and shading reduce heat gain, while traditional forms often thrive in rainy or snowy regions through steep rooflines and overhangs that shed water. Your site’s topography—slope, vegetation, prevailing wind—directs whether a compact, modern volume or a sprawling, vernacular plan minimizes excavation and maximizes natural ventilation. Daily lifestyle intrudes further: a home chef needs the open, hard-surface workflow of minimalism; a collector of heirlooms requires the built-in storage and cozy nooks of traditional detailing. Climate-responsive aesthetic selection ensures the building envelope’s materiality, window placement, and porch depth align with sun angles and seasonal humidity, not just curb appeal. Ultimately, the correct style emerges from mapping your morning routines, evening gatherings, and maintenance tolerance onto the site’s microclimate, rejecting any aesthetic that fights either.

Key Visual Features of Each Style: Rooflines, Materials, and Window Placement
Modern rooflines are typically flat or low-pitched, emphasizing horizontal planes, while traditional styles feature steep, gabled or hipped slopes. Minimalist designs favor sleek, mono-pitch roofs that reinforce geometric purity. For materials, modern and minimalist homes use concrete, steel, glass, and stucco, whereas traditional styles rely on brick, wood shingles, and stone. Window placement defines each style’s rhythm: modern and minimalist layouts use large, asymmetrical, or ribbon windows to blur indoor-outdoor boundaries, often spanning full walls. Traditional windows are vertically proportioned, evenly spaced, and framed with mullions or shutters. To decide, consider:
- Assess your roof preference—flat (modern/minimalist) or sloped (traditional).
- Choose materials that match maintenance and climate needs.
- Select window patterns based on desired natural light and symmetry.
When to Blend Styles for a Truly Custom Result
Blend styles when a single aesthetic fails to solve a functional or emotional problem in your space. A custom fusion approach works best when you need warmth without sacrificing clean sightlines—pair traditional millwork with minimalist volumes, or anchor a modern shell with heritage tile and patinated brass. Mix deliberately, not randomly: choose one dominant style for structure and use the second for accents, textures, or lighting. This keeps balance intact while injecting personality. Limit the blend to two styles per room, and bridge them with neutral materials like wood or stone. Test proportions physically—if the junction feels jarring, simplify. Intentional contrast creates a home that feels bespoke, not eclectic chaos.

What Are the Core Technical Elements That Make a Design Work?
Core technical elements that make architectural design work boil down to how structure, light, and flow interact without fighting each other. You need a load path that’s honest—columns and beams aligned so gravity doesn’t force contortions. Then there’s environmental reality: window placement that admits daylight while rejecting glare, insulation that doesn’t just meet code but actually keeps thermal comfort stable. Circulation matters too—door swings, corridor widths, stair risers—if they feel awkward, the design fails even with perfect materials. And details like waterproofing, flashing, and expansion joints are the quiet heroes; they prevent the building from self-destructing season after season.
If the technical systems don’t serve the human experience, you’ve built a sculpture, not architecture.
When these align, the design feels inevitable—like it couldn’t have been built any other way.
Understanding Structural Loads, Spanning, and Framing Basics
Understanding structural loads, spanning, and framing basics ensures a design stands safely by dictating how forces flow through members. Loads—dead (permanent) and live (occupancy, wind, snow)—determine required section sizes; a beam spans between supports, transferring its load to columns or walls. Framing aligns these elements in a continuous path: joists to beams, beams to posts, posts to foundations. For efficient spanning, increase depth rather than thickness—a deeper member resists bending with less material. Shortening the span is almost always cheaper than enlarging the member. Sequence: (1) identify all loads on the area, (2) choose a framing grid that minimizes long spans, (3) size members so deflection stays within limits, (4) verify connections transfer forces without weak points.
How Natural Light, Ventilation, and Thermal Mass Shape the Floor Plan
Orienting the floor plan along the sun’s path determines which spaces receive direct morning light versus softer afternoon exposure, so living areas align with the south facade while service zones buffer the north. Cross-ventilation demands that openings on opposite walls align with prevailing breezes, which pushes bedrooms and kitchens toward the windward side and shrinks corridors into functional air paths. Thermal mass placement shapes spatial sequencing by concentrating heavy concrete or stone partitions near glazing to absorb daytime heat, releasing it at night, which therefore positions sleeping quarters away from these dense cores to avoid overheating. The result is a layout where room dimensions, window widths, and wall thicknesses become interdependent responses to climate, not stylistic choices.
Natural light dictates orientation, ventilation dictates opening alignment, and thermal mass dictates wall placement—together they compress or stretch the floor plan into a climate-responsive sequence.
Integrating Plumbing, Electrical, and HVAC Without Clutter
Successful integration of plumbing, electrical, and HVAC hinges on reserving dedicated vertical chases and horizontal service zones early in the spatial layout. Align ductwork above corridors while routing water lines and conduits along shared walls, keeping every accessible panel within reachable niches. Coordinated rough-in sequencing prevents cross-trade conflicts, allowing fixtures, outlets, and registers to land precisely where furniture and circulation demand them. Use raised floors or dropped bulkheads to conceal distribution runs without stealing ceiling height, and cluster mechanical cores near wet areas to shorten branch lines. This creates a clean, serviceable environment where utility zones read as intentional architecture, not afterthoughts. The result is uninterrupted visual flow, faster maintenance access, and a quieter, more comfortable interior. Avoid scattering penetrations; consolidate them into discrete, labeled shafts for future adaptability and cleaner finishes.
How Can You Use Design to Cut Construction and Living Costs?
Smart architectural design trims costs before you even break ground by simplifying the building’s footprint—every square foot you don’t carve out is money saved on materials and labor. Opt for open, multi-use spaces instead of many tiny rooms, which cuts wall construction and reduces future heating and cooling loads. Positioning windows strategically for cross-ventilation and passive solar gain slashes reliance on HVAC systems, shrinking both energy bills and the size of mechanical equipment you need to buy. Designing a compact, well-insulated envelope with a simple roof pitch also speeds up construction time and lowers waste. **How can you use design to cut construction and living costs?** By prioritizing a smaller, efficient layout and orientation over expensive square footage, you spend less upfront and less every month on utilities.
Simple Massing vs. Complex Forms: Where Your Budget Goes
Simple massing concentrates your budget on high-quality materials and finishes, whereas complex forms divert funds into geometry, structural engineering, and custom fabrication. A rectangular footprint minimizes exterior wall area, reducing foundation, framing, and cladding costs per square foot, plus lowers ongoing heating and cooling loads through less thermal envelope. Complex shapes—curves, cantilevers, or multiple rooflines—demand more labor, scaffolding, and waterproofing details, often exceeding 15–20% in construction premiums. *The savings from a simple form let you invest in triple-glazed windows or a robust HVAC system, which cut daily living expenses more effectively than a sculptural facade does.*
Q: Does simple massing always mean a boring design?
A: No—the budget saved can fund bold interior volumes, strategic daylighting, or premium cladding on one accent wall, achieving visual impact without geometric waste.
Choosing Durable, Low-Maintenance Materials That Pay Off in 10 Years
Choosing durable, homebrella.com low-maintenance materials is a ten-year financial strategy, not just an upfront aesthetic choice. Fiber-cement siding, standing-seam metal roofing, and porcelain tile eliminate recurring repainting, resealing, and replacement cycles that drain budgets. When you select materials that pay off in 10 years, you prioritize lifecycle cost over sticker price—concrete floors needing only occasional mopping outperform hardwood that demands sanding and refinishing. The real savings come from eliminating labor calls: quartz counters resist etching, composite decking never splinters, and grade-A copper or PEX piping avoids emergency plumbing. Your design should specify assemblies with proven lifespans, such as zinc flashing and aluminum window frames, so your building’s envelope remains airtight without frequent intervention.
- Specify through-body porcelain tile for high-traffic zones to avoid glaze wear and replacement.
- Choose powder-coated aluminum or fiberglass entry doors instead of solid wood to skip periodic varnish.
- Install central-vacuum or sealed ductwork to reduce dust buildup on durable surfaces, extending their polish-free life.
Designing for Future Expansion or Convertible Spaces to Avoid Renovation Costs
Designing for future expansion or convertible spaces is the smartest way to slash renovation costs before they ever occur. By integrating adaptable floor plans now, you eliminate the expense of structural changes later. For example, position plumbing and electrical rough-ins for a future bathroom or kitchenette behind a simple wall—this pre-emptive move costs pennies compared to retrofitting. Similarly, design a home office or guest room with a pocket door and a closet, making it a legally compliant bedroom only when needed. To achieve this, follow a clear sequence:
- Identify your likely future needs (e.g., aging parents, home business).
- Over-specify the foundation and roof trusses to handle added load.
- Keep mechanical systems accessible in a central chase, not buried in concrete.
- Use non-load-bearing interior partitions for zones you may convert.
This approach means your next life stage fits the same shell, turning a potential $50,000 addition into a $5,000 finish-out.
What Questions Should You Ask Before Hiring a Design Professional?
Before committing to a design professional, ask how they translate your lifestyle into spatial form, not just aesthetics—question their process for resolving conflicts between your budget and your architectural ambitions. Inquire about their experience with your specific building type, and demand to see how they handle structural constraints or awkward site conditions. Ask who manages the project daily and how they communicate revisions, because architectural design thrives on iterative feedback. Crucially, probe their approach to natural light, circulation, and material durability—these define long-term livability.
Request a breakdown of what happens when your needs change mid-design; a rigid professional protects their vision, not your home.
Finally, ask for references from projects where the client challenged the design—their response reveals whether collaboration or ego drives their architectural decisions.
How to Assess Their Portfolio for Problem-Solving, Not Just Pretty Pictures
To assess a portfolio for problem-solving rather than aesthetics, trace each project’s narrative from constraints to resolution. Ask for the “before” conditions—site slopes, zoning setbacks, client budget caps, or structural anomalies—and then verify the design adapts to those limits, not just decorates them. Look for phased drawings that show circulation fixes, daylight redirection, or storage integration, not merely renderings. Prioritize projects where the architect explains a failed first scheme and how they pivoted. Evaluating spatial logic over visual impact means checking floor plans for wasted corners or awkward transitions, and comparing square footage to functionality. If a portfolio lacks annotated diagrams or construction details, treat it as cosmetic. Q: What single portfolio element proves problem-solving skill? A: A before-and-after section showing measurable improvements—like reduced corridors or improved cross-ventilation—accompanied by a short rationale of the design decision.
Clarifying Fees, Revisions, and Deliverables Before You Sign
Before committing to an architectural designer, pin down the exact fee structure and revision policy in writing. Ask whether you are billed hourly, per square foot, or as a fixed lump sum, and confirm which expenses (printing, permits, travel) are excluded. Clarify how many design revision rounds are included in the base fee, and what the per-hour charge is for additional changes. Also, specify every deliverable—such as schematic drawings, construction documents, and 3D renderings—along with the format (PDF, CAD, physical copies) and the timeline for each. Without this, you risk surprise invoices or incomplete handoffs.
Checking Communication Fit: How Often Will You Review Progress and Give Feedback?
Before you hire, ask how often you’ll actually see the design evolve. A weekly check-in keeps momentum without suffocating creativity, while biweekly might feel too sparse for big changes. You’re looking for a rhythm that matches your comfort level—some architects prefer a quick email update, others a live screen-share walkthrough. Also, pin down *when* feedback is due: do you get 48 hours to review drawings before the next iteration? And what happens if you go silent? Clear expectations here prevent awkward “I thought you were handling it” moments. A good fit means you’re both nodding along to the same schedule, not guessing.